10 Easy Steps To Cut A Whole Chicken
Chicken is a huge staple in our house. We use it in chicken curry, chicken noodle soup, chicken tikka masala, chicken masala, fajitas, chicken parmesan, and so much more. It can definitely add up in our grocery bill. One way we save every month is by buying whole chickens rather than pre-cut meats.Cutting up a whole chicken can be extremely intimidating! I know it was for me! Well, I'm here to help you. Here is a step by step guide for cutting a whole chicken.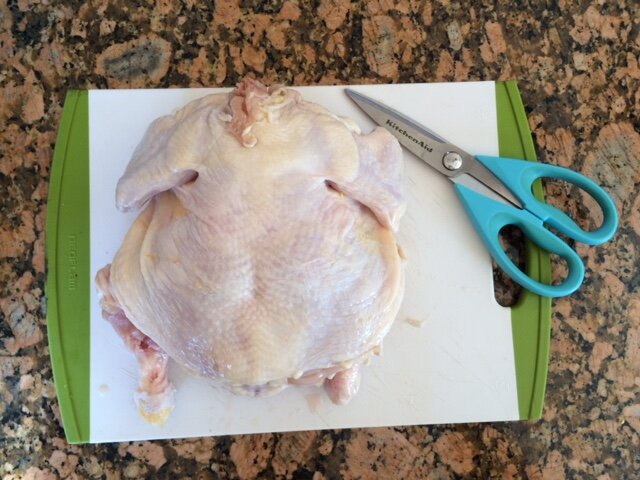
Step One
Rinse off chicken with water. Pat dry. Grab a pair of sharp cooking scissors, cutting board, and two bowls. One bowl will be for waste and one is for chicken meat.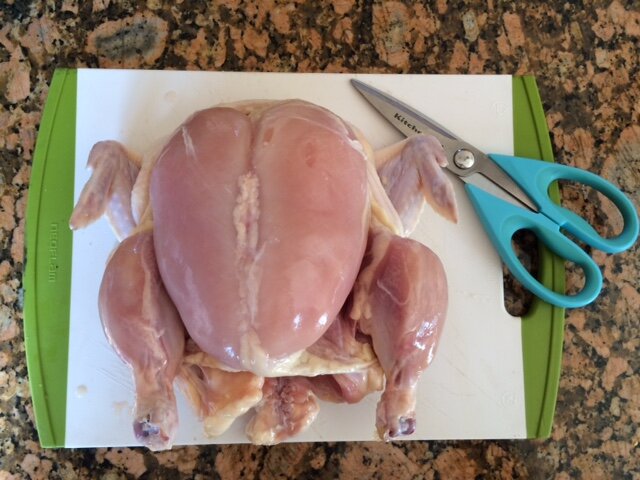
Step Two
Take the skin off the chicken. The easiest way to do this is start breast side up and put your fingers under the skin. Slowly pull it away from the meat. The goal here is to NOT rip the skin. It is much easier to take it off if it's in one piece. Start at the breasts, then move to the wings, then the lower half of the body, and end with the legs.If it does break, you can use a paper towel to hold it better.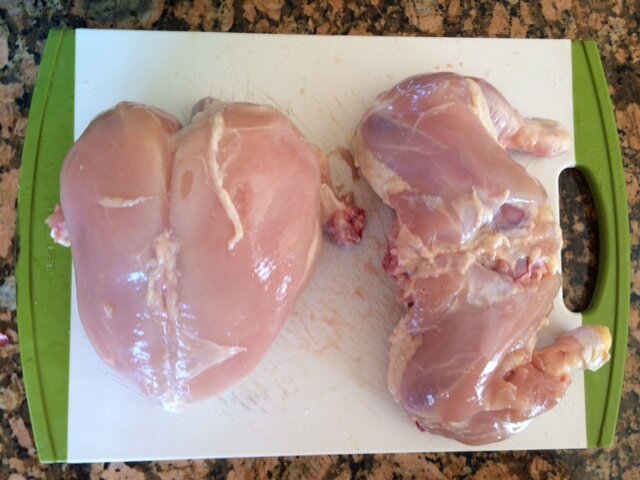
Step Three
This step helped me to handle the chicken better. I broke it in half. All you have to do for this is turn it, breast side down, find the middle, and break by pushing in.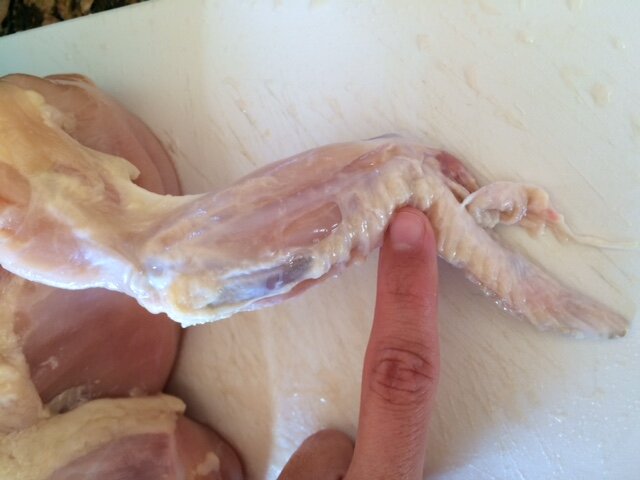
Step Four
In order to cut around the bones all you have to do is find the joints (where the bones connect) Bend the piece back and forth and you can feel where they connect. Cut right in the middle and it's super easy. Here, we are starting to cut the wings.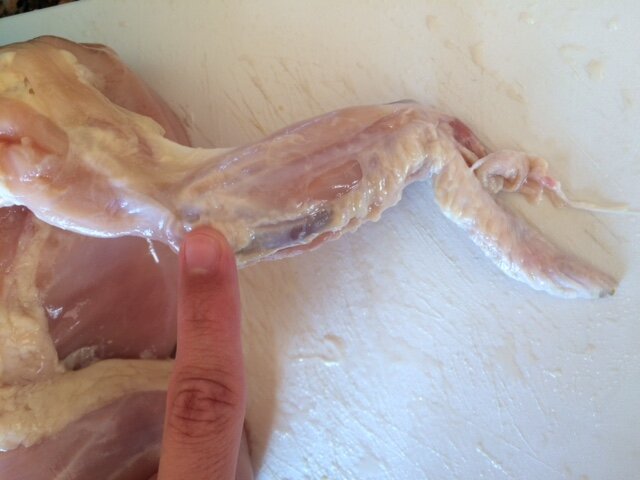
Step Five
Now find the second joint and cut.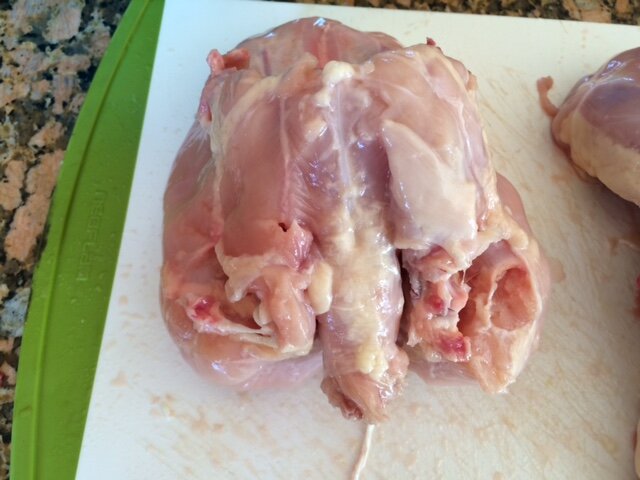
Step Six
The neck bone is easy to spot. Smack dab in the middle here. Now, cut down the neck on both sides. You will be cutting small bones here, but it will be easy. You can use the neck bone for stocks.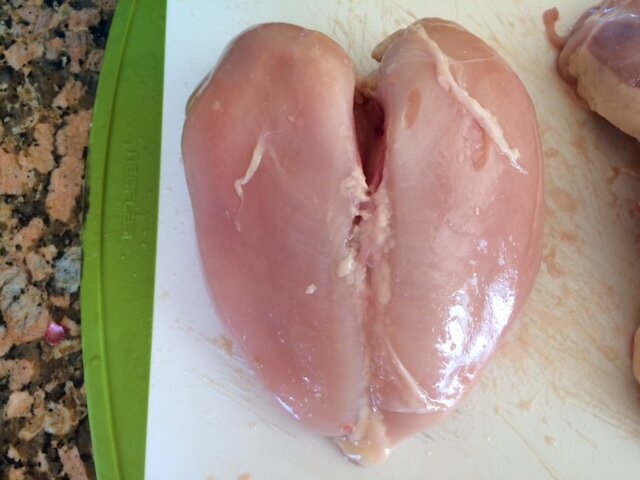
Step Seven
You have a bit of preference that comes in for this step. If you like bone in chicken, cut it in half and you're good to go.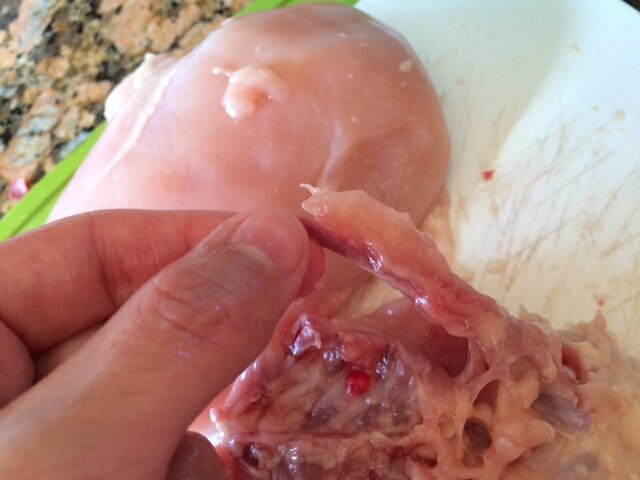
Step Eight
If you don't like the bones, first cut out the wish bone shown here. Then cut out the rest of the small bones under the breast.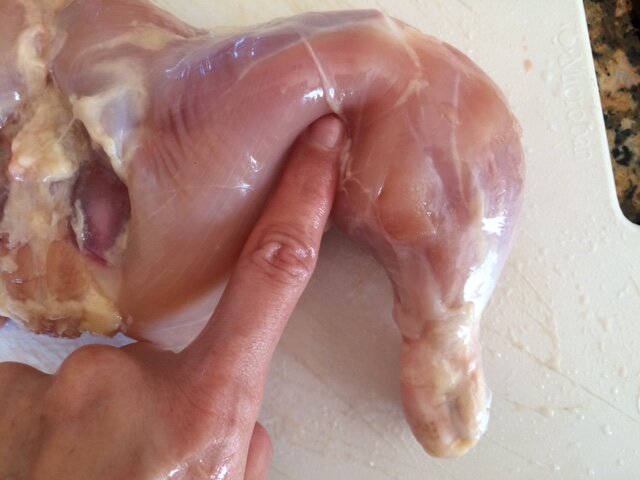
Step Nine
Find the joint and cut the chicken legs. This part is easy enough to tear off as well.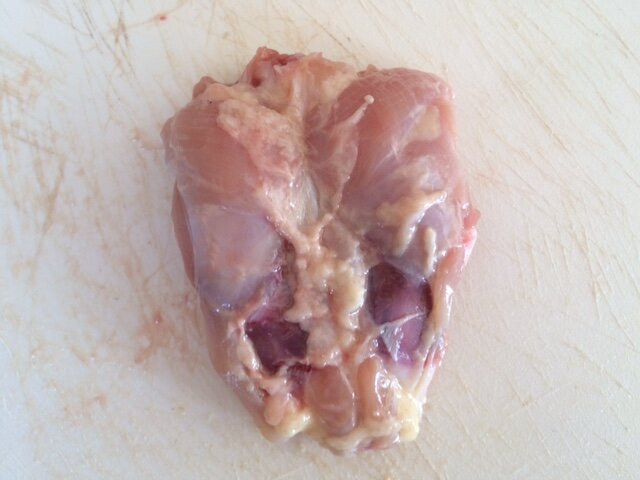
Step Ten
This is the last bit of the chicken. There are a lot of small and large bones so be sure to feel and get them all out. I cut around and pulled off as much meat as I could.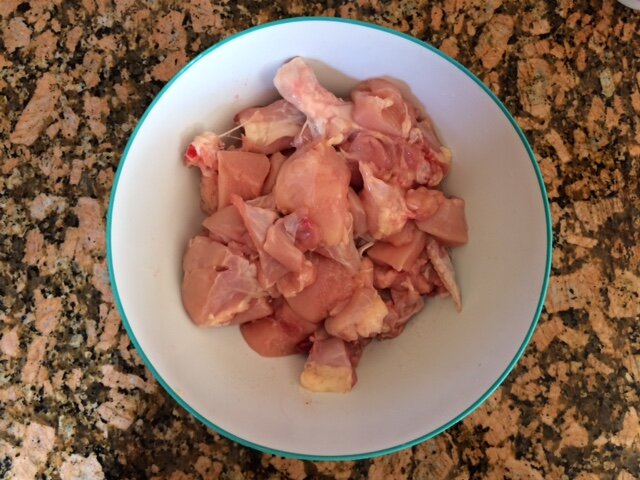 Ta-da! Now, that wasn't as hard as you thought, was it? Once you do it the first time, it becomes easier each time.A few extra tips....
- Make sure you feel through to find any little shards of bone. I like to give mine and extra rinse at the end just to be sure.
- Hold onto the bones to make a delicious chicken stock.
- Try making a dish with the large bones in and see how much of a difference it makes.
Did you find this helpful? If so please share!
Meal Planning
 The moment I told Joel we were having our third boy, he responded with one thing… “They’re going to eat us out of house and home!” My kids eat a lot now and they’re all under three. I can’t imagine three teenagers.
 Keep it simple
Keep ingredients in mind
Plan a few leftover meals
Stock your pantry with some basics
Get a calendar
Indian Chili Powder
 What is the difference between chili powder from a grocery store and Indian chili powder from and Indian grocery store? The heat! This question comes up all the time when making Indian food. I've also had friends that make an Indian recipe and call me to ask what went wrong. Most of the time the problem is they used the wrong kind of chili powder. Can you guess what the difference is between the two?Regular chili powder is a mixture of different ingredients. I had no idea! It contains ground chilies, salt, and garlic. Some brands may add additional things as well. Indian chili powder only contains red chilies. Indian chili powder also has different levels depending on the types of red chilies they use. I usually get the regular Indian chili powder for my Indian food. Joel's mom also sends me spices when she goes to India. It's definitely spicier than what you buy here. I made the mistake of trying to spice up my recipe and add a little more. Bad idea. I forgot to take into account the fact I was using authentic chili powder and should have tasted it first. Instead I ended up with a dish that made all of us cry, even my Indian husband was sweating!!!We all have those moments in the kitchen. We use the wrong ingredient, too much of something, or forget something entirely. Share one of your cooking fails with us!
How To Cut Your Cooking Time In Half
 While on vacation with Joel’s family, I’ve learned the tricks of the trade. I’ve usually seen Joel’s mom and dad cooking Indian food. Joel’s mom works most of the day and then will come home and cook. She has a bit more time to come home and do everything from scratch. Joel’s dad has even more time to prep food and cook meals throughout the day.
 Keep some prep food frozen.
Prep food at the beginning of the week.
Cook Multiple Indian Dishes On The Weekend.
This is by far my favorite. I always wonder how Joel’s family has the motivation to cook huge dishes every single day. I learned the secret… They don’t! Joel’s aunt, Chinnipinni, made three main dishes, four sides, and rice on the weekend. She also had some chapatis and roti on hand. This way she could take them out each night and change up the combinations each night. It was brilliant!
What do you do to save time when cooking?
Must Haves For Cooking Indian Food
 As our little family has been cooking Indian food more often, I’ve realized there are a few things I’ve needed to make it easier. Or that I’ve had to go out and buy because I refused to hand cut lamb one more time. If you’re planning on making Indian food, here are a few things you should have. Although, I’m sure these things are great tools when cooking anything and you’re probably all going to laugh and tell me you’ve had these things since you moved out on your own.
Cooking Scissors
A Sharp Knife Or A Knife Sharpener
Plastic Or Glass Containers
Lot’s Of Friends To Experiment Your Indian Food On
Ginger-Garlic Paste
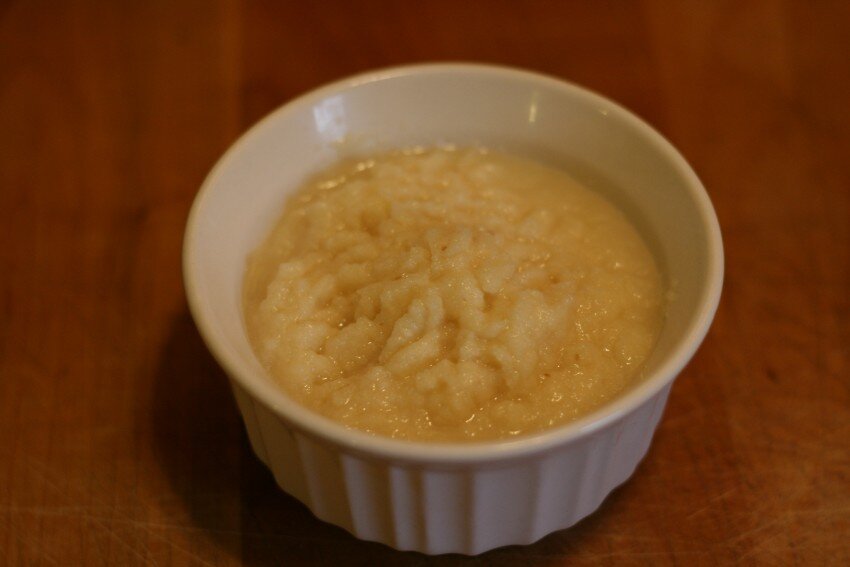 When you start cooking Indian food, you'll notice a few ingredients repeat themselves. One of those is ginger-garlic paste. It's delicious! I've been making Indian food for a little over five years now and I've noticed I'm becoming a better cook. This has nothing to do with me. It's the fact that I've seen the light!!! Or rather how delicious food can be and I've used some of the techniques I learned in making signature Indian dishes in my everyday meals. I've started using ginger-garlic paste in just about everything! It deepens the flavor and adds a bit of a kick. You can go straight to your local Indian market or you can make it in your very own kitchen. I like to make it because I know it's fresh and like I said we use it all the time. Ingredients:Whole gingerWhole garlicOlive OilDirections:Cut the skin off your ginger and chop it up into chunks. Smash your garlic and take the skins off. Add equal parts ginger and garlic to a food processor and then add a bit of olive oil. Puree. Add enough olive oil for the ginger and garlic to become a thick paste. Make sure you add a little at a time because you can always add more if it's still too thick.
How To Cook Indian Rice
What is the one dish anyone should be able to cook without screwing it up? Ok, besides toast? Rice in a rice cooker is the easiest thing out there to make. Well, for most people. I, on the other hand, managed to screw it up when my father in law came to visit. He let me know what I didn't add enough water and that I should watch him make it. It was like getting yelled at in front of your friends, getting smacked in the head in front of your friends by your mom, or tripping in front of everyone at school. I wanted to impress Joel's dad and let him know what a connoisseur of Indian food I had become. Instead I screwed up one of the easiest dishes there is. I watched him and tried to figure out what I did wrong.... A lot. First of all, you have to wash the rice. What the heck! Wash rice. This is what Basmati and Jasmine rice look like when you put water in it. 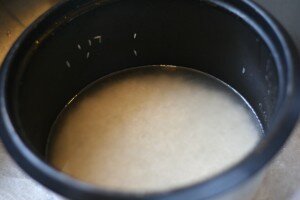 The water is cloudy and definitely doesn't look clean. You have to fill it up with water and rinse it out until the water is clear.
 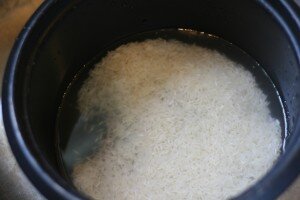 All of the surface starch gets washed off of the rice when you wash it. Joel says he has horrible memories of washing rice all through out his childhood. Torturous really. The kitchen chore I hated the most growing up was peeling potatoes. Your hand starts cramping up after the third potato and you think you will never be able to open your hand again. He then explained to me the water to rice ratio. I followed all of his advice and made proper Indian rice from then on. Then I made it for my mother in law. Yet again, there was something wrong. Apparently they disagree on the water to rice ratio! At this point I had to go with the larger consensus. I asked his aunts how they do it and the ratio they all agree on is 1:1. The other little detail is to make sure you have PLENTY of it. It's never fun when you run out of rice during dinner!If you want to impress a few of your Indian friends, make rice this way!
